When I was a child, I spoke and thought and reasoned as a child. But when I grew up, I put away childish things. First Corinthians 13:11, New Living TranslationWhen I read this verse in my youth I thought that becoming an adult would be a decision made and... BAM... now I'm adulting. But as I look back on my experiences, I feel like I should have known all along that growing up is a process and adulting doesn't just happen, it happens in gradual stages.
When my husband and I were first married, he was getting his masters degree and I was doing what I could to keep up. We had an awesome group of friends, mostly acquired through his courses, that we would hang out with. We would get together with food and drinks and talk about life and current events. There were no children, no plans for children, and no worries. I thought we were adults, doing the things we wanted to do on the schedule that suited us. When I look back (fondly) of those times it almost seems like my friends and I were playing at being adults, unconcerned about the future and its responsibilities.
Today I visited with my current village. When my husband and I decided to start our family, I didn't know anything about being a parent. I was completely befuddled by this new challenge of adulthood, so a dear friend suggested I join a MOPs, or Mothers of Preschoolers, group. Her suggestion saved my parenting and my sanity because I was meeting with women on my same path who helped me puzzle out what it meant to be a mom, reminding me that I needed to keep ME too.
After six years of being a mother, I've been in three different MOPs groups and have developed amazing relationships that center me personally and spiritually. Having these women in my life has made parenting feel less like I'm desperately clinging to myself and drowning in my role in the family, reminding me that parenthood comes in waves: Sometimes the waves knock you down and sometimes you stand your ground victorious!
 Growing into an adult, I feel as though I am in a continual state of flux. I'm constantly adapting to new responsibilities and learning new tasks. I feel the same as an aspiring pie baker. Last week, with my first pie, I learned all about crusting. Crust is what makes a pie a pie. Sharing what I learned, I hope, will make everything better for the next crust's success!
So this is all about the traditional American pie crust. It can be flaky, which is tender and flaky as its name implies, due to flakes of fat incorporated into the dough. It can be mealy and tender, but less flaky since fats are more thoroughly incorporated into the dough. I'm still working my way though figuring out which method I use, but I'm hoping for a flaky pie because of those delicious flakes I saw in the dough! Last week, the process of the crusting is what took most of my time baking, apart from the actual bake. Because the fats need to incorporate at a mostly uneven ratio through the dough, it's important to keep the dough cool, working with the dough at an ideal temperature of 60º F.
 I'd read that you can pre-make crusts, either in balls or panned and ready to go. So this week, to save some time in the future, I tripled my pie crust recipe from last week and divided into fourths (because I wasted a lot of dough last week!) I also decided to measure a circle template onto parchment paper for rolling. This way I would have less overall waste and it would be easier to transfer rolled dough into the pan. If you would like to make your own template, I added the measurements of my pan sides and pan bottom plus an inch for a little extra for the lip and crimping. Divide that number by two and that's the radius of your circle. Then cut a string to that length, anchor the center an draw the circle with the outside of the string (imagine a DIY protractor!) Sorry to bring so much math into this, but here's the equation:
8" (diameter of pan bottom) + 2(1") (two sides, 1" in height) + 1" (little extra)
2 (to determine radius rather than diameter)
=5 1/2" (the radius of your total pan and the length to cut the string that draws the line)
 There was great success with the template (Isn't he cute?) and now I have three pre-made crusts (because I kept the fourth quarter balled for a top crust when that eventually becomes necessary.)
I also made a slight adjustment to my original recipe in that I substituted lard for the vegetable shortening. Everything that I've read on the topic says that this makes a good substitution for a more flavorful crust.
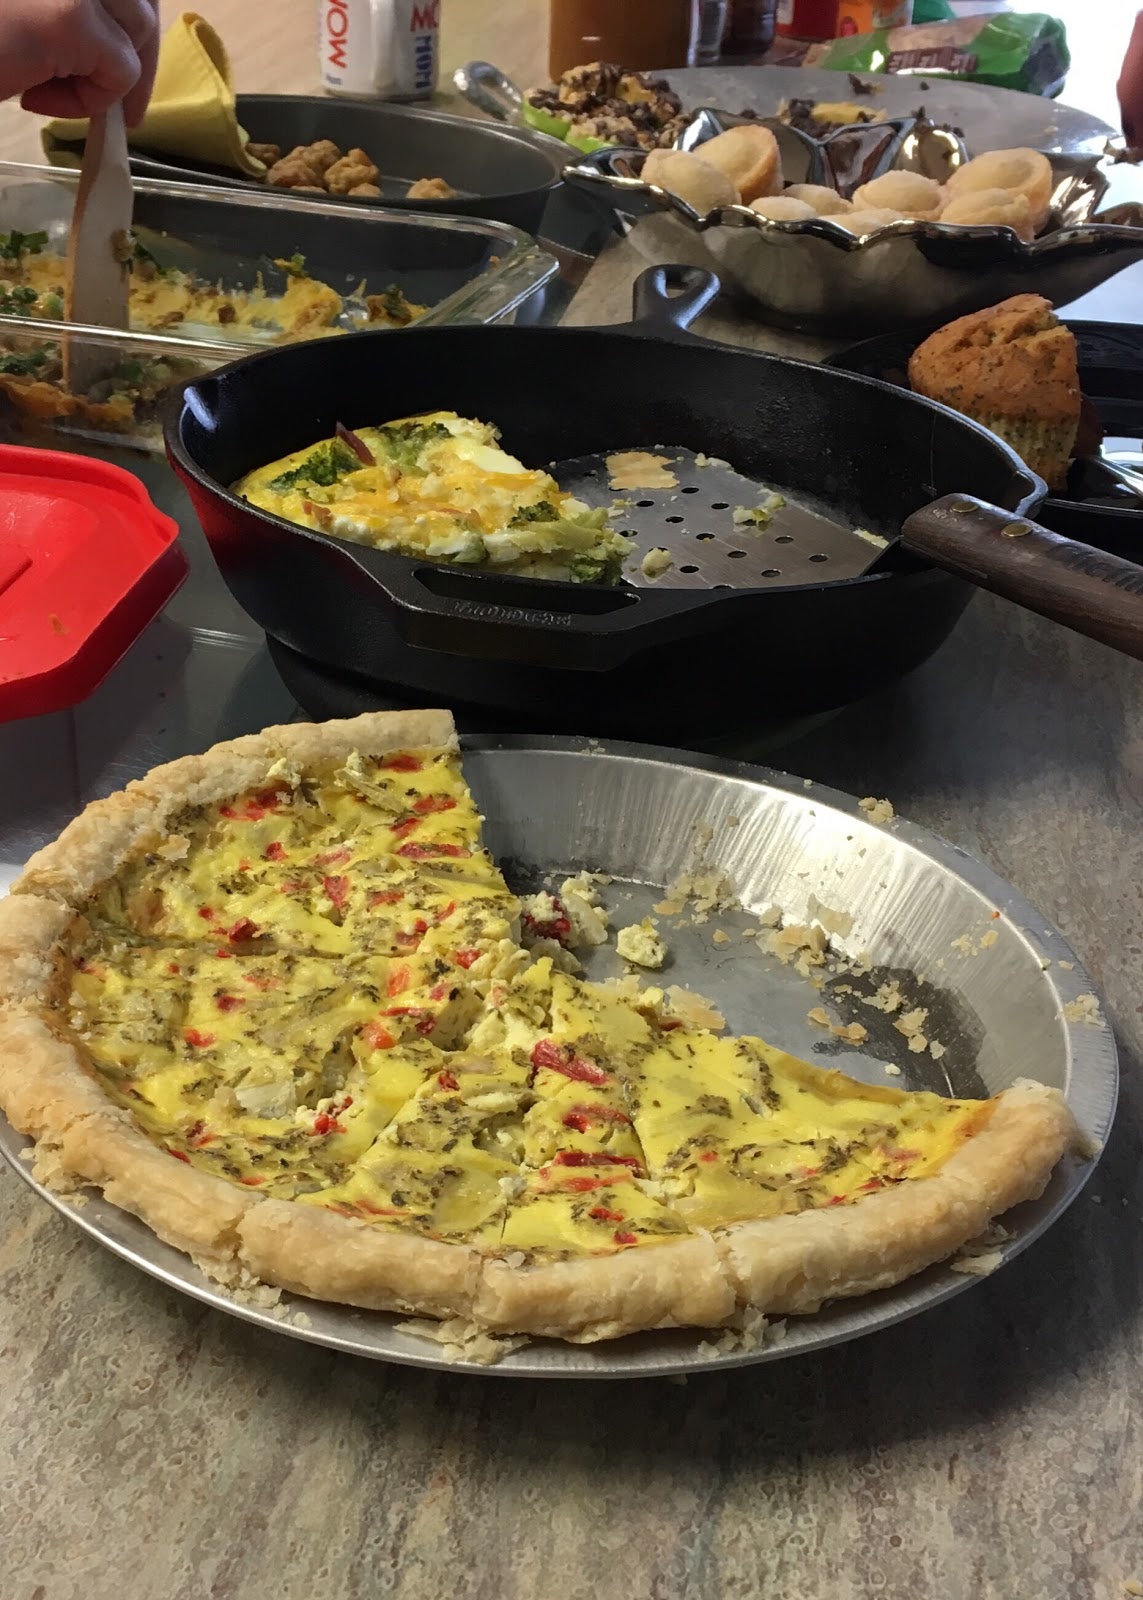
So today, I met with my MOPs people. This week was my turn to contribute to breakfast so I decided to contribute a breakfast pie... otherwise known as quiche. The recipe is one I adapted from my carefree days of youth; an artichoke dip we would dive into over deep conversations on topic that we knew nothing about. I feel like this is a perfect coming together of old traditions and new challenges... much like adulting, and pie baking.
Artichoke Quiche
Yield: 1-8" pie
 Ingredients
1 pre-made pie shell
4 eggs
1 1/2 cups milk
1 teaspoon dried oregano
1/2 teaspoon ground black pepper
1/4 teaspoon minced garlic
1/2 teaspoon salt
1-12 ounce jar quartered artichoke hearts, drained and rinsed
1-4 ounce jar pimentos, drained and rinsed
4 ounces feta cheese
Whisk together the eggs and milk and add seasonings and garlic, set aside. Chop the the artichokes and pimentos slightly and roll in paper towels to dry. Preheat oven to 400º F. Combine the artichokes, pimentos, and feta to the eggs and stir well to incorporate. Pour into unbaked pie shell and bake in preheated oven for 15 minutes. Turn heat down to 350º F and bake for an additional 30-35 minutes, or until the custard filling wobbles. Cool completely before serving.
(I stored mine overnight in the refrigerator and rewarmed in a 250º F oven for 25 minutes.)

You may note that I didn't do a partial or blind bake on this crust. I've read that unless you have a particularly wet filling that won't fully bake or a non-baked filling, that you should bake the crust with the pie fully. The crust was done, but I feel like a short blind bake would have benefited the bottom crust as it was a bit limp. Not soggy, because it held shape spectacularly, but not fully done either. I also used a crust shield, since I didn't want the sides to get too dark... note to self, take the crust shield off next time!
But the filling was superb. I have to thank Julia Child for that. (And really, who better to turn to for quiche???) Her ratio of eggs to dairy was key in getting the right consistency: Put an egg in a measuring cup and fill to 1/2 cup with your preferred dairy. Admittedly, I added an extra egg because it didn't look yellow enough, but I think it would have been fine without.
Next week: Language and pie!
No comments:
Post a Comment